Boss Guide: Lace Boss Complete Guide - Hollow Knight Silksong
Complete walkthrough for defeating Lace in Hollow Knight Silksong. Comprehensive guide covering both Deep Docks and The Cradle battles with attack patterns, phase transitions, combat strategies, and equipment recommendations.
Hollow Knight Silksong Lace Boss Complete Guide: How to Beat This Graceful Swordsmaster
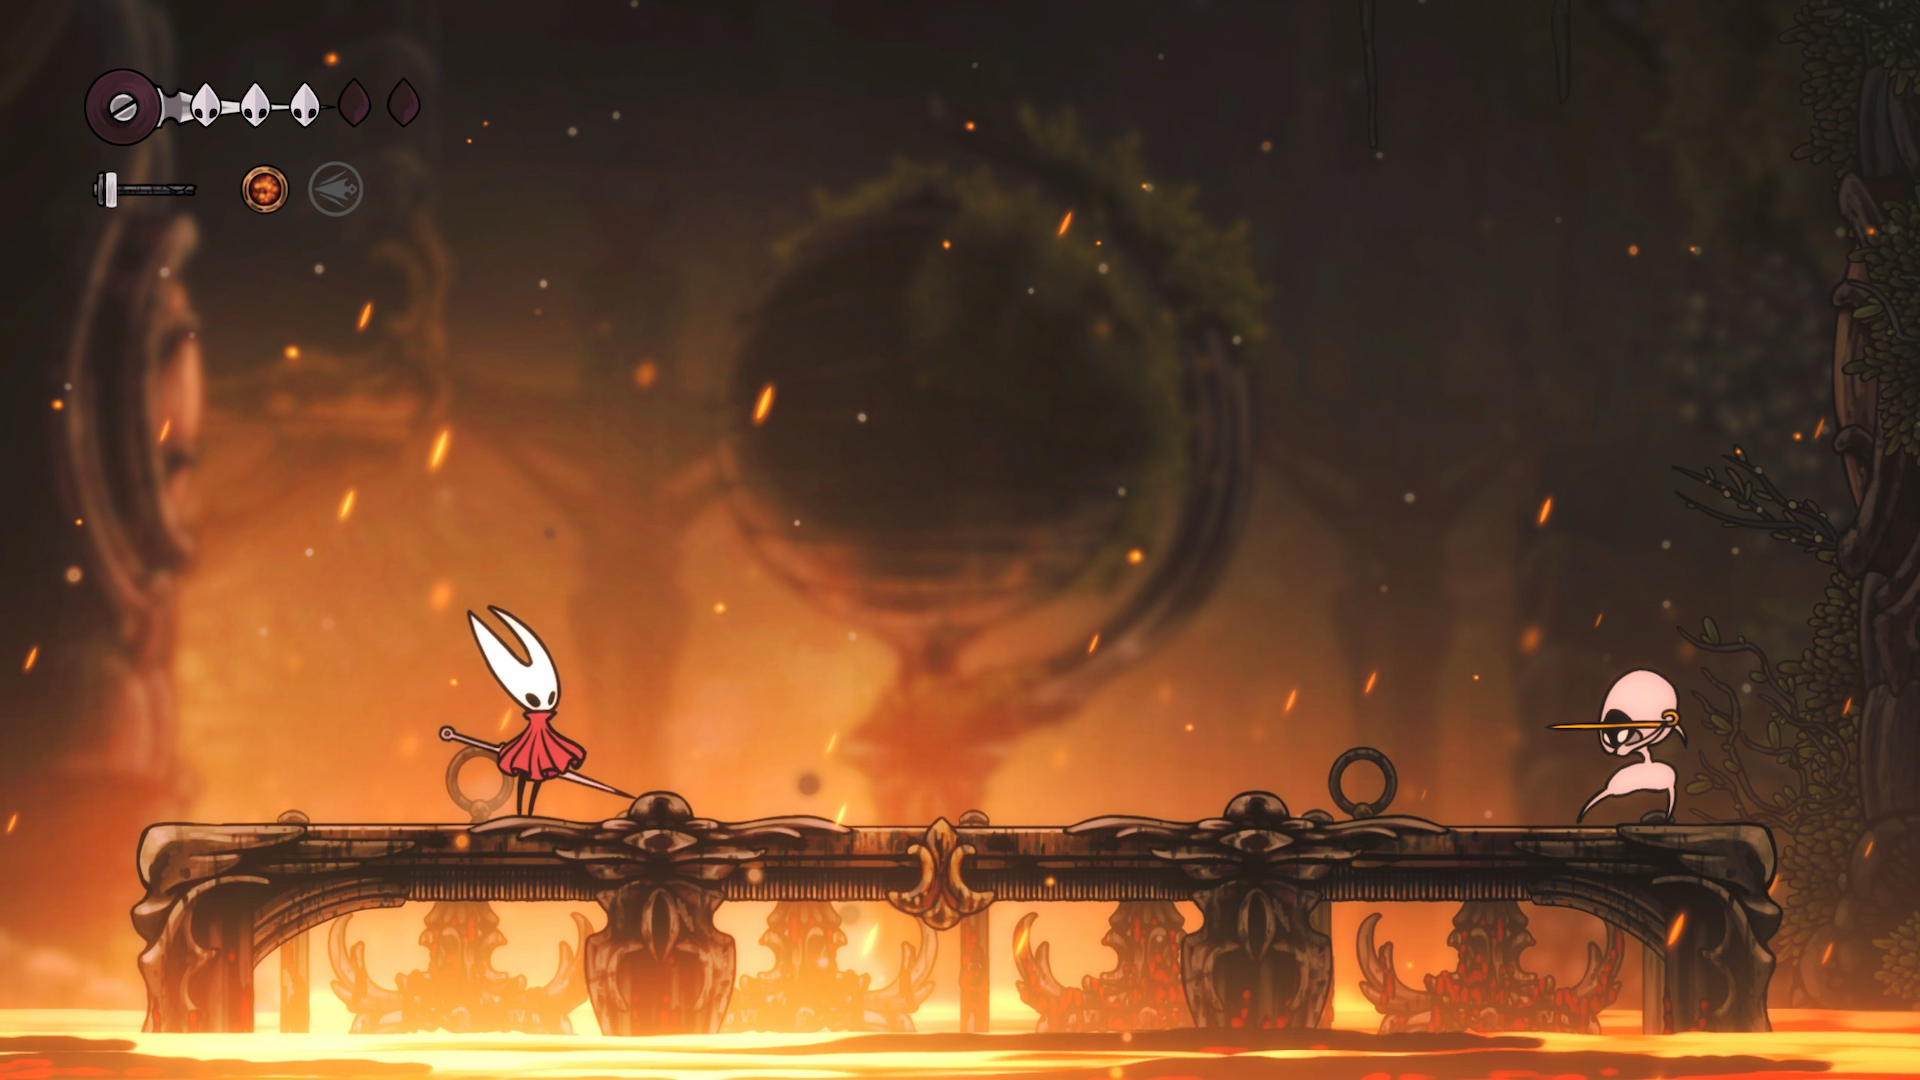
The first time you encounter Lace above the lava pools in the Deep Docks, you'll immediately realize—this is no ordinary boss fight. Her rapier traces elegant arcs through the air, each attack a deadly dance. For many Hollow Knight: Silksong players, Lace represents that crucial turning point from "novice" to "skilled player."
This walkthrough will accompany you through this challenging journey, from understanding her every move to finally standing victorious.
Meet Your Opponent: Who is Lace?

Lace isn't just a boss—she's a key character in Silksong's story. As a masterful swordfighter, she has a complex relationship with the protagonist Hornet. Her existence is intimately tied to the fate of the Silksong kingdom. Throughout different stages of the game, you'll face her twice, each encounter a fresh test of your skill and understanding.
Why is Lace so special?
-
▸
Embodiment of Speed and Precision: Her attacks are swift and lethal, demanding lightning-fast reactions
-
▸
Skill Checkpoint: Her parry-riposte mechanic punishes greed and rewards patience and timing
-
▸
Narrative Importance: From adversary to ally, her character arc spans the entire game
How to Find Lace: Two Encounters
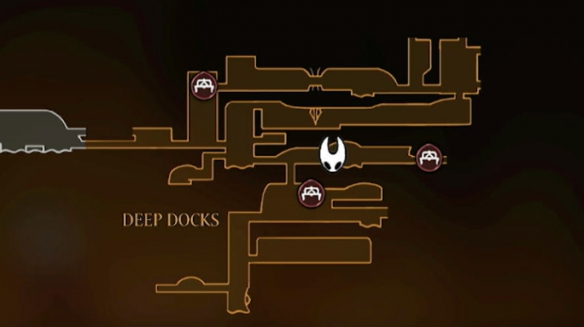
First Battle: Deep Docks
Navigation Route:
After obtaining the Dash ability, head to the Deep Docks area. Follow the lower route eastward, and you'll hear her song—a prelude to the battle ahead. Find and activate the switch before the door, pass through the unlocked gate, and jump to the central platform where Lace awaits.
Important Tip: There's a rest point nearby—save your progress first. You'll thank yourself for this decision after a few failures.
Second Battle: The Cradle
This is the ultimate test. You must first reach the Citadel, defeat the Cogwork Dancers, then collect three melody fragments from different corners of the Citadel. After playing these melodies to activate the statue, take the giant elevator to the top where Lost Lace awaits the final confrontation.
Reading Her Attacks: Know Your Enemy
Understanding Lace's attack patterns is key to victory. Let's analyze each of her moves in depth:
Dash Attack - The Signature Move

Warning Sign: Lace holds her rapier horizontally at her side, tip pointed in your direction
Attack Pattern: A lightning-fast linear dash, almost too quick to see
Counter Strategy: This is your golden opportunity to strike back! Jump when she begins her dash, and if timed correctly, you can land a downward strike (pogo) on her head. This counter-attack method is both safe and efficient—it's the key technique for mastering the Lace fight.
Parry and Counterslash - The Greed Punisher
Warning Sign: Lace crouches, raising her rapier upward in a defensive stance
The Trap: Many players fall here—if you attack from the front while she's in this stance, she'll make you regret it with multiple rapid slashes
The Wise Path: When she assumes this pose, don't attack! Either wait or circle behind her. Patience matters more than any skill here.
Double Slash - A Test of Rhythm

Warning Sign: Lace positions her rapier at her side, tip pointing down
Attack Pattern: Two quick forward steps, each accompanied by an arc slash, followed by a brief pose
Window of Opportunity: The pause after her attack is your chance! You can safely land 2-3 hits. This is an important moment for damage accumulation.
Jump Attack - The Art of Prediction

Warning Sign: Lace leaps into the air and hovers briefly
Attack Pattern: Dives toward the ground at a 45-degree angle
Three Response Methods:
1. Aggressive: Move under her position after she ascends
2. Conservative: Back away and leave extra space
3. Technical: Jump over her as she lands
Aerial Combo - The Second Phase Nightmare
Warning Sign: Marks an area in front of you and begins charging
Attack Pattern: After a brief delay, performs four rapid slashes in the marked area, then dives down
Survival Key: Use the charging window to exit the marked area. Don't covet that position—survival matters more than damage output.
Three Battle Phases: Escalating Challenges
Phase One (100% - 60% Health): Learning Time
This is the relatively "friendly" phase. Lace uses five basic attack patterns with relatively long intervals between attacks. Use this time to familiarize yourself with her rhythm and practice pogo techniques.
Core Strategy: Stay in the central third of the battlefield, avoiding being pushed toward the lava at the edges.
Phase Two (60% - 20% Health): The Real Test Begins
Warning Signal: Lace roars when her health drops to about 60%
Major Changes:
-
▸
Attack intervals drastically shorten—your reaction time decreases
-
▸
Enhanced jump attack: produces three rings that explode simultaneously with her dive
-
▸
Dash attack may occur 2-3 times consecutively instead of just once
Response Advice: Move more frequently, don't be greedy—only 1-2 hits per attack sequence.
Phase Three (20% - 0% Health): Final Frenzy

New Threat: AOE Attack
Identification: Same pose as jump attack, but she laughs
Attack Pattern: Forms a massive circle at your position, dealing area damage after one second
Response Points:
-
▸
Prepare to move immediately upon hearing laughter
-
▸
Quickly exit the circle's range
-
▸
Anticipate a second AOE attack (she usually fires twice)
-
▸
Counter-attack during her ground-slam recovery pause
Winning Strategy: From Theory to Practice
Overall Combat Philosophy
Unlike many bosses, fighting Lace requires aggressive offense rather than passive defense. If you constantly defend, her continuous attacks will put you on the back foot, leading to eventual failure.
Three Core Principles:
1. Maintain Attack Rhythm: Apply constant pressure without being greedy
2. Seize Timing: Strike 1-2 times then immediately disengage
3. Leverage Aerial Advantage: Pogo attacks are the safest damage source
Practical Technique Breakdown
Opening Strategy:
-
▸
Claim the battlefield center, ensuring sufficient movement space
-
▸
Observe her warning motions, quickly identifying incoming attacks mentally
-
▸
Focus on learning her rhythm for the first 30 seconds—don't rush damage output
Mid-Fight Output:
-
▸
Dash Attack: Jump + pogo—the safest damage source
-
▸
Double Slash: Utilize the pause for 2-3 hits
-
▸
Avoid attacking during her parry stance—this is the primary cause of failure
Stun Phase Exploitation:
When Lace becomes stunned mid-fight, this is your golden time. You can:
-
▸
Use special skills like Silkspear for massive damage
-
▸
Perform continuous attacks
-
▸
Heal if necessary—this is also a good healing window
The Art of Healing Timing
Best Healing Windows:
1. During Dash Attack: Heal immediately after jumping
2. After AOE Attack: During her ground-slam pause
3. Parry Stance Ends: Brief recovery period
Golden Healing Rule: Better to miss one attack than be forced to heal at a dangerous moment after being greedy.
Equipment Selection: Tools and Skills Loadout
Successfully defeating Lace requires not just skill, but the right equipment configuration.
Core Recommended Combinations
Offensive (Red Tools):
1. Triple Pin - Essential
-
▸
Provides extra attack power and range
- • Particularly effective against Lace's rapid movements
2. Sharp Sting
-
▸
Increases base damage
- • Can combine with Pollip for extra damage
3. Silkspear
- Ranged attack option
- Remarkably effective when Lace is stunned
Defensive (Blue Tools):
1. Fractured Mask - Highly Recommended
-
▸
Provides extra health
- • Gives you a second chance in high-difficulty battles